Online Menu Maker ⇒ What You Have Always Been Looking For

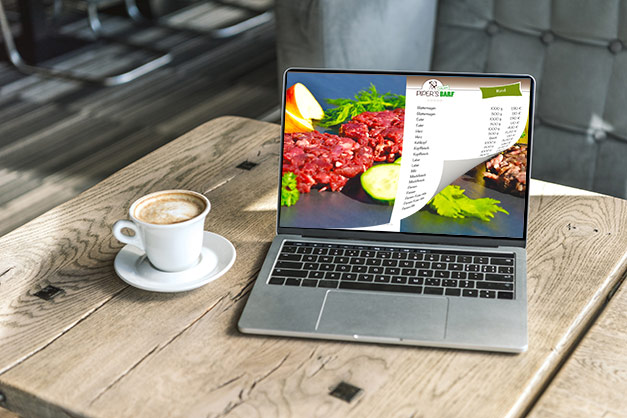
It is becoming a norm for every restaurant and takeout joint to place their menu online. As a busy restaurant owner, you might ask the question, why is that important? Well, more and more people look online for the information that they want on businesses rather than calling directory enquiries or a telephone directory service. The Internet gives people information fully and quickly. When restaurants have an online menu, it is available for anyone that searches for it to find it. A business that can be found online indeed stands to gain a lot of new customers. With the YUMPU Publishing Online menu maker, not only will you attract a lot of potential customers, but you will give your establishment its own identity. You will also offer your customers the convenience of browsing through your menu and placing an order in the comfort of their own home or office. The online menu maker from YUMPU Publishing has explicitly been designed for the restaurant industry to allow restaurants and cafes owners to display professional and unique menus on the Internet in a matter of minutes without any advanced skills.
Table of contents:
How to Use the YUMPU Publishing Online Menu Maker
Creating an online menu with the YUMPU Publishing online menu maker is surprisingly simple. You do not need to have technical skills or any knowledge of coding to create a great digital menu. All you need is to follow the following steps:
Step 1: Design the menu in PDF format
Creating an online menu on YUMPU Publishing requires that you start with the original draft in PDF format. Therefore, menus in Microsoft Word, PowerPoint or any other format should be exported to PDF. There are several tutorials available online on how to do that. If your menu is already in PDF, skip to the next step.
Step 2: Upload the PDF document on YUMPU Publishing
Visit the official site of YUMPU Publishing. Then drag and drop the PDF document to the site. Uploading will start immediately and may require you to wait for some minutes, depending on the size of the file. After the upload is done, you will be required to create an account on YUMPU Publishings free online menu maker. All you need is type in your email address. Then go to your email and activate the account.
Step 3: Set up the new online menu
Edit the uploaded menu by adding a suitable title as well as meal descriptions. If your restaurant has a logo and brand images, add them and ensure they are placed in the right positions. You could also change the color of the font to match your restaraunt's brand. Customize the font size and color of the text. For the headers use a larger font and consider using italics for meal descriptions.
Step 4: Embed the menu on your website
Once you’re done with editing, it’s time to embed the menu on your site or blog of your choice. By clicking on the ‘Embed’ link, you will be directed to the Embed wizard. It is recommended to use the advanced embed widget. It offers the best embedding options for online menus. The “size” and “style” tabs are the most important when embedding your menu. These tabs can be enabled on the left-hand side of the Embed wizard. Once you are done, copy the embed code and paste it in your website’s HTML.
Benefits of Using the YUMPU Publishing Online Menu Maker
Easy to use Interface: The YUMPU Publishing online menu maker is an easy to use tool .
The online menu is accessible on all devices: The online menu can be viewed on various devices, from PCs to tablets and smartphones. This also allows for quick and easy updates. Therefore, patrons can instantly see the updated menu and order the latest food offerings. .
Search Engine Friendly: The online menu maker makes the menu to be available in HTML format. An HTML file can be indexed more easily hence ranks high on search engines. The final result is that the online menu will generate more traffic. .
Texts on the online menu are easy to select: With YUMPU Publishing's online menu maker, it is easy to produce menus whose text can be easily selected. Therefore patrons can choose their favorite food items from a long list of options.
Conclusion
Before you begin putting together your first online menu, ensure your menu is easy to read and organized. You can start with the appetizers, followed by the main courses, then desserts, and lastly, drinks. This makes it easy for customers to follow.
Also, double-check your online menu to avoid any typos. Choose your pictures wisely and minimize descriptions so as not to bore your customers with long texts. Ensure you feature your best dishes, since first impressions matter a lot and will entice your customers to click on the menu and place an order

